You’re not alone. Many people freeze up when they see something like how to install the 35-DS3CHIPDUS3. The name alone can sound intimidating, but installing it? That’s a different story. If you’ve recently purchased this component and have no clue where to start — or worse, tried and got nowhere — this guide is for you.
Whether you’re a hobbyist, a DIY tech enthusiast, or just someone trying to upgrade their existing setup, this is your one-stop manual to make sense of it all.
What is the 35-DS3CHIPDUS3?
Let’s start by demystifying what you’re actually dealing with.
The 35-DS3CHIPDUS3 is a high-performance chip interface module, often used in advanced computing projects, embedded systems, or console mods. It integrates processing and signal routing functions that are typically required in custom builds.
Think of it like a power tool for your motherboard — only much more precise and crucial to your system’s architecture.

Why You Might Need It
Before diving into the installation process, it helps to know why this chip matters:
- You’re upgrading a custom-built gaming console.
- You want to optimize data processing speeds.
- You need a replacement part for a broken chip in a DIY hardware project.
- You’re adding new firmware or functionality to an existing device.
And yes — it also means more speed, more control, and more customization options.
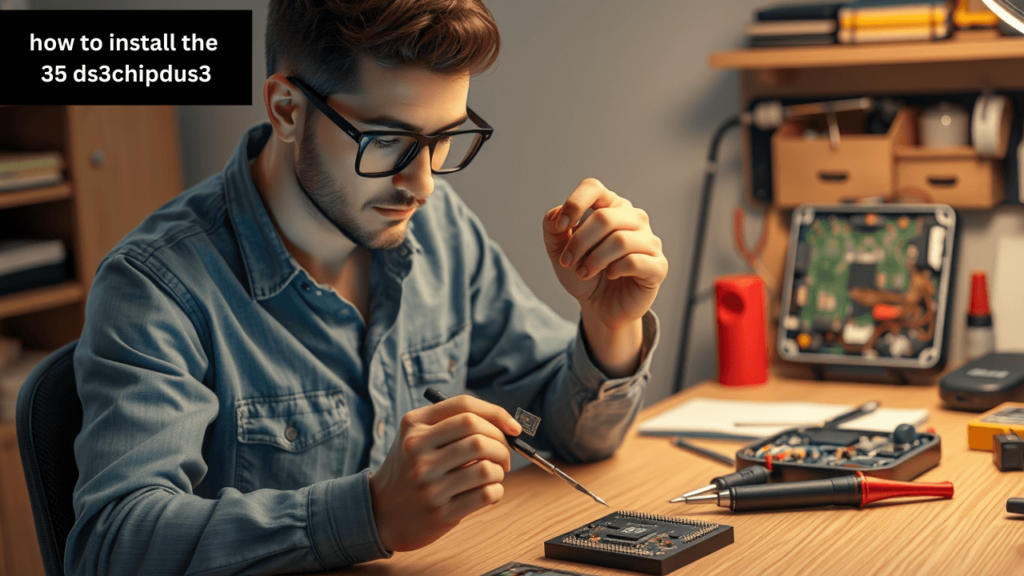
How to Install the 35-DS3CHIPDUS3: Step-by-Step Instructions
1. Prep Your Tools and Workspace
Before you begin, make sure you have the following:
- A static-free workstation
- Small Phillips screwdriver
- Soldering kit (if required)
- Thermal paste (if heat-sensitive)
- Proper chipset documentation
Clear your desk. Take a deep breath. Don’t worry, we’ll go slow.
2. Power Down and Disassemble the Device
Whatever device you’re installing the chip into, disconnect it from power first. Remove any existing hardware panels carefully.
Open the unit’s casing using a small screwdriver and note where each screw goes — misplacing even one can make reassembly frustrating.
3. Locate the Chip Slot or Interface Socket
Refer to your motherboard or circuit layout. The socket designed for the 35-DS3CHIPDUS3 will typically be labeled or situated near other data control modules.
Not all boards look the same, but one rule always applies: don’t force it. If something doesn’t fit easily, you may be inserting it in the wrong orientation.
4. Carefully Insert or Solder the Chip
Depending on your model, this step could be plug-and-play or require a delicate soldering process.
- Plug-in models: Align the chip correctly with the socket grooves and press gently but firmly.
- Solder models: Heat the solder points gradually and connect pin by pin. Take your time — rushed soldering leads to shorts or burnt pins.

5. Test Before Full Assembly
Reconnect the device temporarily and power it on. If your system lights up or boots as expected, you’re on the right track.
If it doesn’t? Don’t panic. Double-check the chip orientation, connections, and pins.
6. Reassemble and Clean Up
Once you’re confident the chip is working, screw the casing back together. Wipe down the exterior and return any leftover screws or components to a labeled box.
Advantages of the 35-DS3CHIPDUS3
- Compact and efficient: Perfect for small-space builds or internal mods.
- Reliable performance: Stable even under heavy use or long uptime sessions.
- Versatile applications: Works with various custom hardware setups.
Disadvantages You Should Be Aware Of
- Challenging for first-timers: Not exactly beginner-friendly.
- May void warranties: If you’re modding a console or commercial hardware.
- Requires precision tools: A poor installation could damage nearby components.
What I’d Do Differently If I Installed It Again
After going through the install process myself, here’s what I’d do differently next time:
- Read the manufacturer’s full guide before touching anything.
- Label every screw and connector during disassembly — trust me, it saves time.
- Use a magnifying glass for soldering fine points. My eyes were struggling halfway through.
- And perhaps most importantly, take a break when you feel stuck. Installing this chip requires patience.
Common Mistakes and How to Avoid Them
1. Forgetting to ground yourself
Static discharge can fry your chip before you even begin.
2. Rushing through soldering
Cold joints are your enemy. Heat slowly and steadily.
3. Skipping compatibility checks
Make sure your device supports the chip version. Cross-reference model numbers.
Real Talk: Is the 35-DS3CHIPDUS3 Worth the Effort?
Absolutely — if you know what you’re getting into.
For many users, especially in modding and embedded computing communities, the performance and flexibility this chip offers can be game-changing.
That said, if you’re unfamiliar with internal hardware or soldering, consider seeking help or practicing on a simpler component first.
Frequently Asked Questions
Q1: Do I need technical experience to install the 35-DS3CHIPDUS3?
Not necessarily, but having some experience with circuit boards and soldering will help. Follow the instructions carefully and watch a few video tutorials if needed.
Q2: Will installing this chip void my device warranty?
Yes, most likely. Always check your manufacturer’s policy before proceeding.
Q3: Can I reuse this chip on another device later?
Yes, as long as you desolder it carefully or remove it without damage.
Q4: Is this chip compatible with all systems?
No. Compatibility depends on the motherboard or system architecture. Refer to technical specs before buying or installing.
Final Thoughts
Installing the 35-DS3CHIPDUS3 might seem like a job for the pros, but with a clear guide, the right tools, and a little patience, it’s absolutely something you can handle.
Just remember: the best installations come from understanding why each step matters — not just blindly following instructions.
So take your time. Respect the chip. And enjoy the performance boost that comes with doing something right.
For more DIY tech tutorials and component installation tips, check out our latest updates on Techsslaash com.

